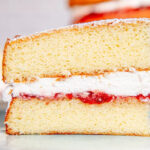
Of all the places where science and art collide, few are as delightful—or as frustrating—as the kitchen. And for bakers living above 3,000 feet, this collision is a daily reality. The dream of a light, fluffy, and perfectly textured cake can quickly deflate into a dense, sunken, or rubbery disappointment.
The culprit isn’t your recipe or your skill; it’s the altitude. Understanding the “why” behind these changes is the first step to mastering the “how” and reclaiming your right to a perfect slice of cake.
The Science at Sky-High Elevations: Why Recipes Fail
To fix the problem, we must first understand the forces working against us. The three main challenges at high altitude are:
- Lower Atmospheric Pressure: Air pressure is the weight of the atmosphere pressing down on everything. At higher elevations, there is less air above, so the pressure is significantly lower. This has a direct and dramatic impact on leavening. Leavening agents (baking powder, baking soda, yeast, and even air trapped in creamed butter) create gas bubbles that cause baked goods to rise. At sea level, higher air pressure constrains these bubbles, allowing them to expand slowly and steadily. At high altitude, with less pressure to hold them back, these bubbles expand too rapidly and too much before the cake’s structure has a chance to set through cooking.
- Faster Evaporation: With lower air pressure, water boils at a lower temperature. This means liquids evaporate much more quickly in the dry, high-altitude air. This can lead to batters that thicken and concentrate too fast, throwing off the delicate balance of wet and dry ingredients and resulting in a dry, crumbly cake.
- Weaker Gluten Development: While not the primary villain, the quicker evaporation of liquids can mean there’s less moisture available to properly hydrate the flour. This can sometimes lead to weaker gluten development, but more often, the rapid gas expansion is the bigger structural issue.
These factors conspire to create the classic high-altitude baking nightmares: cakes that rise dramatically in the oven only to collapse into a sad, sticky crater the moment they are removed (over-expansion and weak structure), cakes with a coarse, holey “tunnel” texture (too-large bubbles), and cakes that are dry and tough (too much flour concentration from liquid loss).
The Adjustments: A Toolkit for Success
The goal of high-altitude adjustments is to rebalance the recipe to counteract these extreme conditions. We need to strengthen the cake’s structure, control the leavening, and retain moisture. Here’s how each adjustment directly impacts the final rise and texture:
1. Adjusting Leavening Agents: The Rise Regulator
This is often the first and most crucial step. Reducing baking powder or baking soda by 1/8 to 1/4 teaspoon per teaspoon called for slows down the initial gas production. This prevents the bubbles from inflating too rapidly and bursting, which is a primary cause of collapse. A slower, more controlled rise allows the protein and starch networks in the flour and eggs to set around the bubbles, trapping them and creating a stable, fine crumb instead of a coarse, tunnel-ridden one.
2. Increasing Liquid: The Moisture Keeper
To combat rapid evaporation, adding 1 to 2 tablespoons of extra liquid (water, milk, or buttermilk) is essential. This ensures there is enough moisture present to keep the batter fluid long enough for the starches to gelatinize and the structure to set. This adjustment is the key defender against a dry and crumbly texture, ensuring a moist, tender crumb.
3. Adjusting Sugar: The Tenderizer Moderator
Sugar is a tenderizer; it weakens gluten structure and delays starch gelatinization. In high-altitude baking, where the structure is already under assault, reducing sugar by 1 to 2 tablespoons per cup helps strengthen the cake’s framework. Less sugar means a stronger, more resilient structure that is better able to hold onto those expanding gas bubbles without collapsing.
4. Adjusting Flour: The Structural Reinforcer
Sometimes, a little extra structural support is needed. Increasing flour by 1 to 2 tablespoons per cup provides more protein and starch to build a stronger network to contain the leavening gases. This reinforces the “walls” of the bubbles, leading to a more consistent and reliable rise and a less fragile texture.
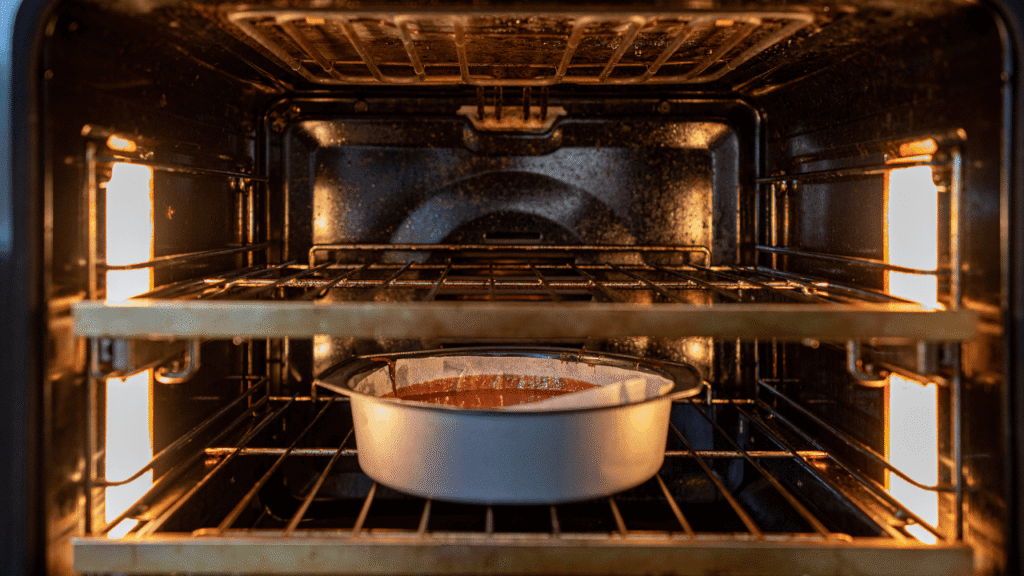
5. Increasing Oven Temperature: The Structure Setter
Increasing your oven temperature by 15-25°F (approx. 10-15°C) helps the cake set its structure faster. The outside crust and internal network firm up more quickly, providing a stable “scaffold” before the over-zealous leavening agents can over-expand and collapse. This is a critical step for locking in the rise you achieve.
6. Decreasing Pan Size: The Support System
Using a slightly smaller pan than the recipe calls for creates a deeper batter. This provides more mutual support for the cake walls as they rise, helping to prevent the dreaded dome-and-collapse effect.
Putting It All Together: A Practical Example
Let’s take a standard sea-level vanilla cake recipe that calls for:
- 1 cup sugar
- 1 cup milk
- 2 cups all-purpose flour
- 2 tsp baking powder
- ½ tsp salt
A high-altitude adjustment for 5,000 feet might look like this:
- Sugar: Reduce to ¾ cup + 2 Tbsp (a reduction of ~2 Tbsp)
- Milk: Increase to 1 cup + 2 Tbsp (an addition of 2 Tbsp)
- Flour: Increase to 2 cups + 2 Tbsp (an addition of 2 Tbsp)
- Baking Powder: Reduce to 1 ¾ tsp (a reduction of ¼ tsp)
- Oven Temperature: Increase from 350°F to 365-375°F
These tweaks may seem small, but their collective impact is enormous. The reduced baking powder and sugar, paired with the extra flour, create a stronger, more resilient batter. The extra milk ensures it stays moist and fluid. The higher oven temperature sets this stronger structure quickly, capturing a perfect, stable rise.
The Art of the Adjustment
It’s important to remember that altitude baking is not an exact science. The perfect adjustment for 3,000 feet won’t be the same for 7,000 feet. It requires patience and a willingness to experiment. Start with the most common adjustments—leavening and liquid—and keep notes on what works for your specific elevation and kitchen.
The impact of these adjustments is the difference between failure and flawless success. They are the translator between a sea-level recipe and a mountain-top reality. By embracing these changes, you’re not fighting the altitude; you’re collaborating with it. You are using science to protect the art, ensuring that every cake that emerges from your oven rises to the occasion, both in height and in texture.